Conquering the Wild: 10 things to ensure you survive in the wilderness
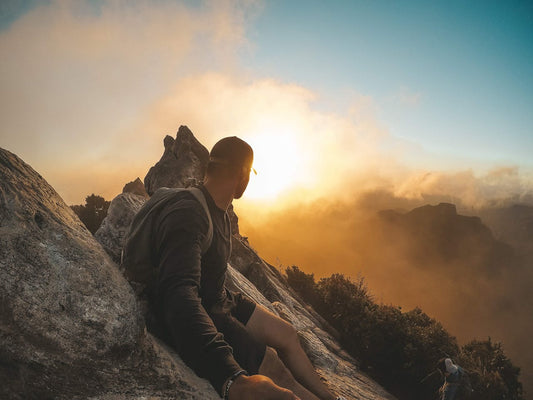
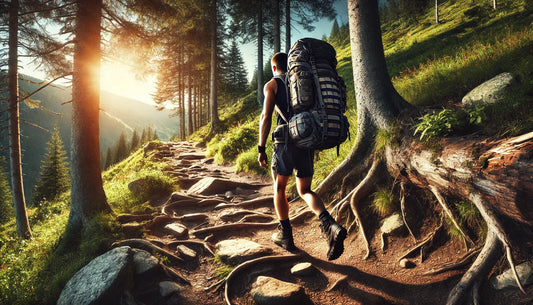
It's the long weekend. You've been preparing for this all week—that hike you wanted to take for that much-needed breather is finally here. You need to drown out the noise from all the hustle and bustle of the real world. It could be that New Year's resolution you promised yourself, a trail run you're finally pumped enough to take.
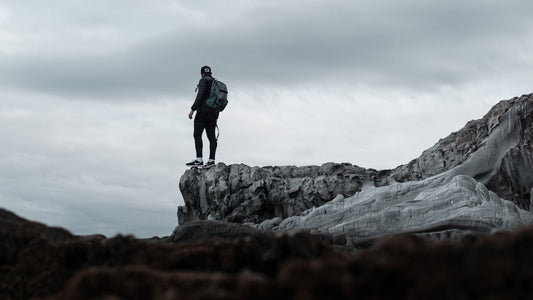
But what if you took a wrong turn and ended up lost in the wilderness? That quick hike or trail run now turns you in circles. The Horizon starts to swallow the sun. It's getting darker. You find yourself away from the beaten path and have been walking for hours. And the reality that you're fucked kicks in.
In wilderness survival, success hinges not on chance but on expertise and appropriately equipping oneself. Your preparedness to face rigorous challenges. In the far-flung corners of nature, your gear transcends mere possessions—it becomes your lifeline. Your proficiency becomes paramount, serving as the barrier between you and imminent peril.
Thousands of people go missing in national parks every year. The lucky ones are found, but many remain missing. Some are found way too late and have succumbed to exposure, found mere meters away from a path. Way too many people think that national parks are like Disneyland—or maybe akin to your neighborhood park. Not understanding that they are in the wilderness.
Perhaps if you possess a core set of survival skills, you can significantly increase your chances of staying safe and getting rescued.
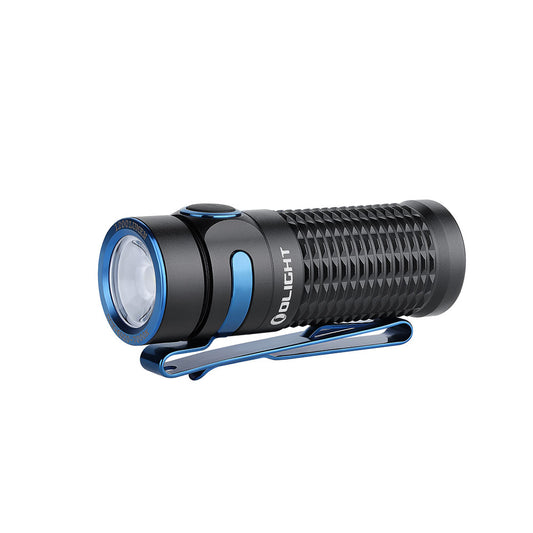
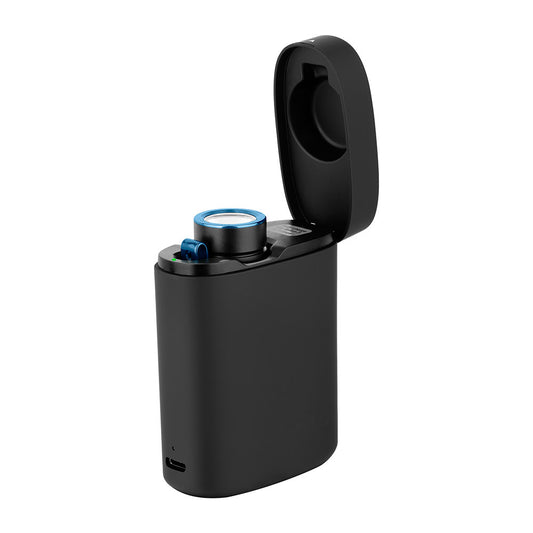
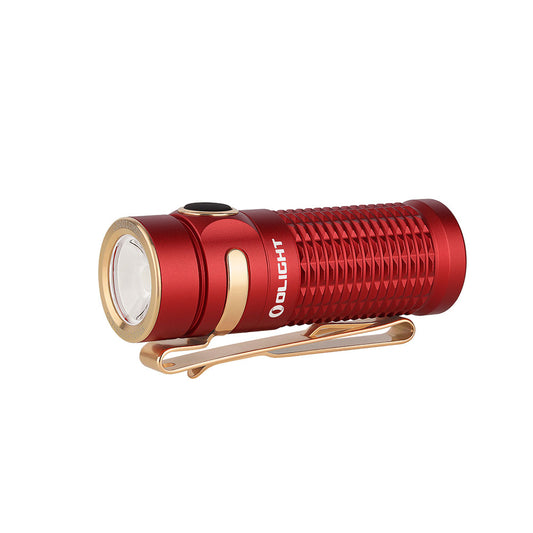
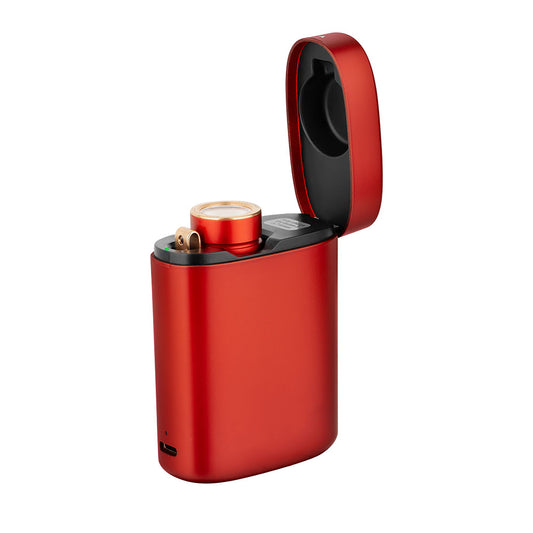
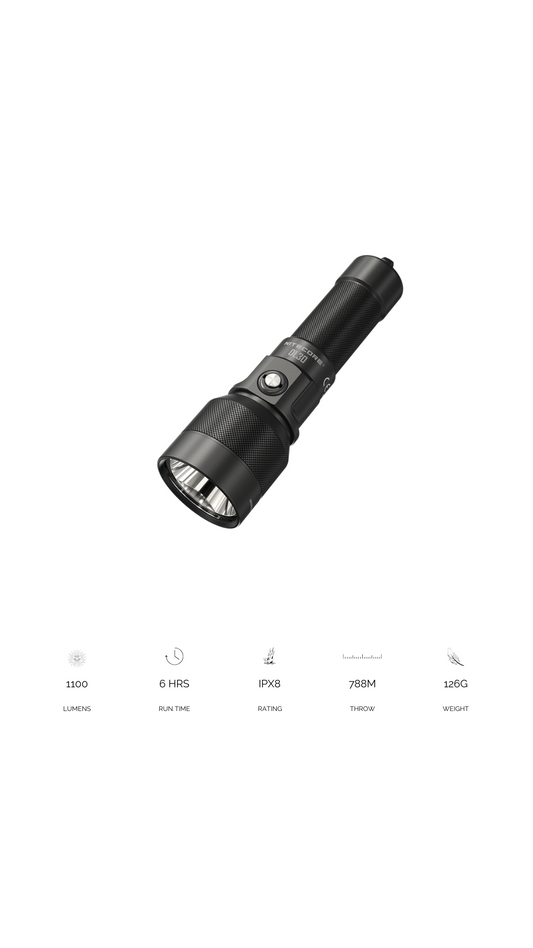
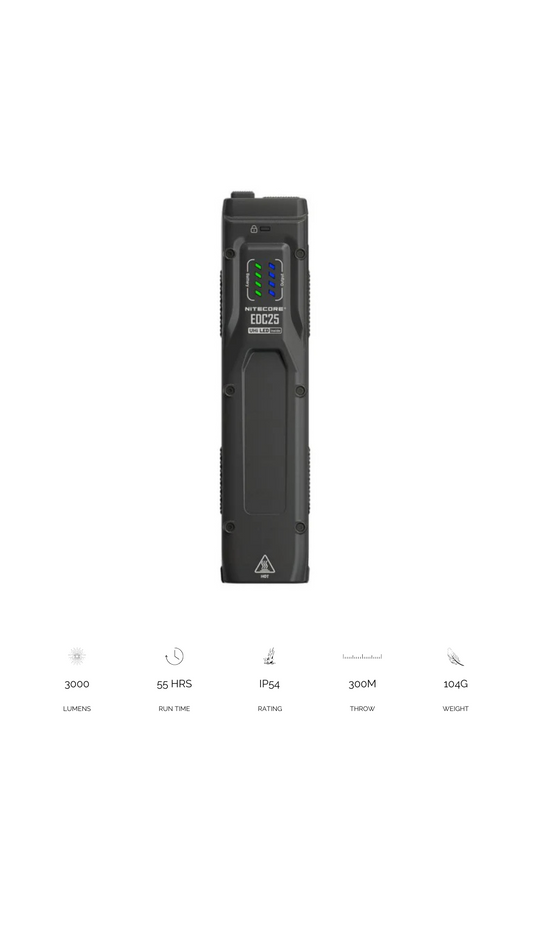
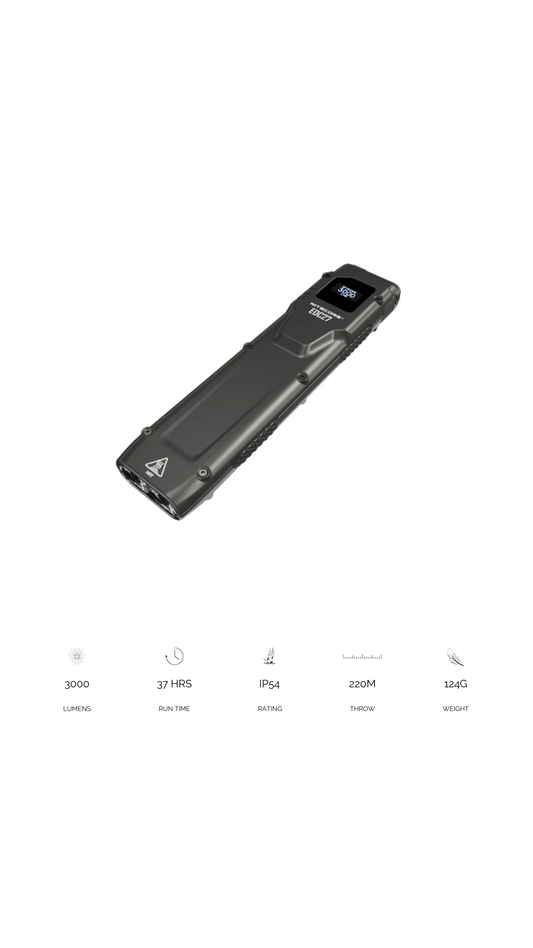
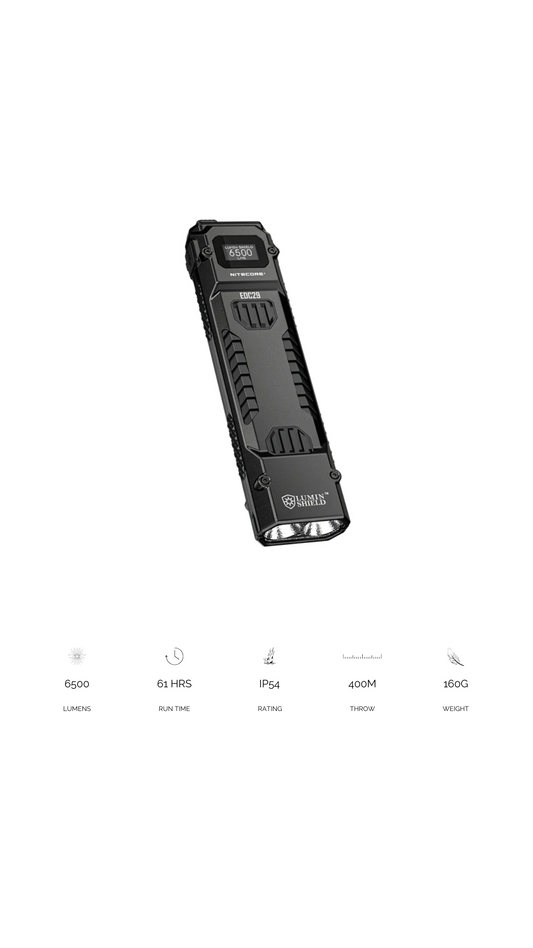
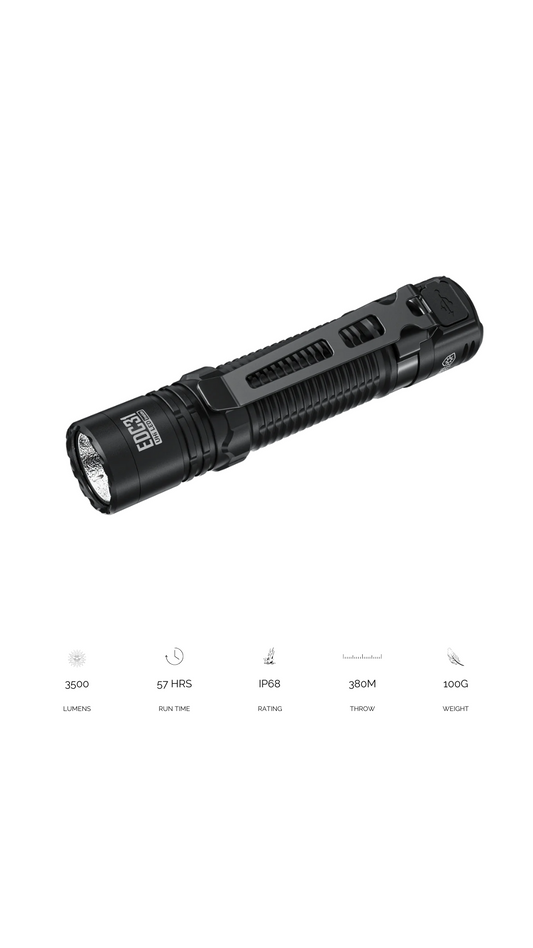
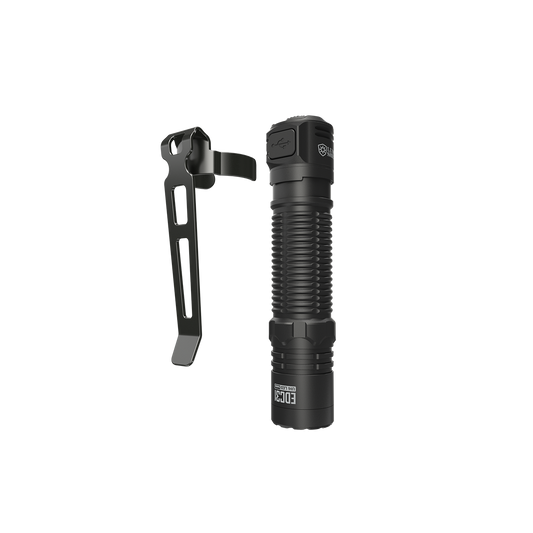
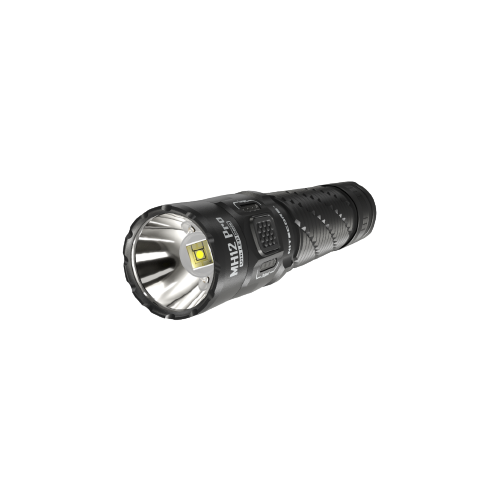
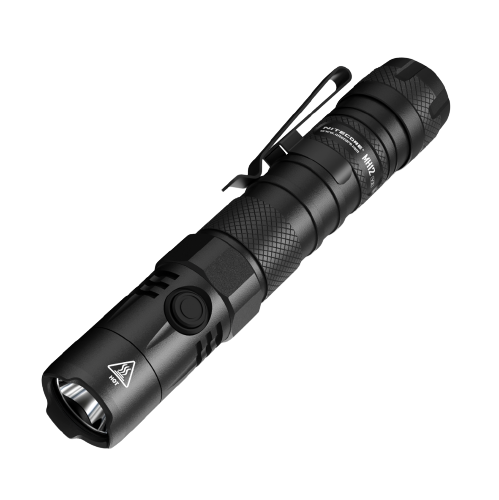
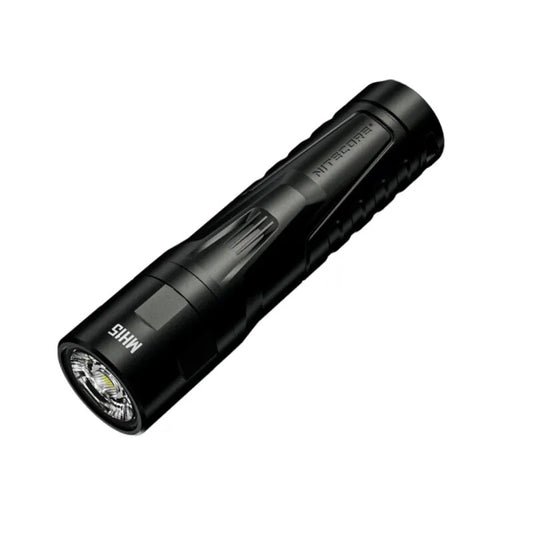
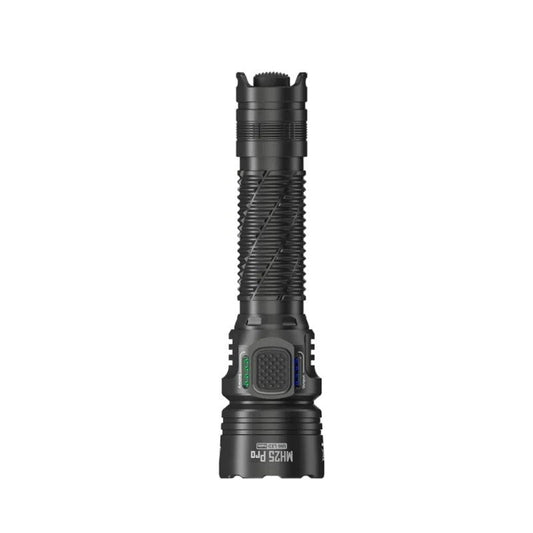
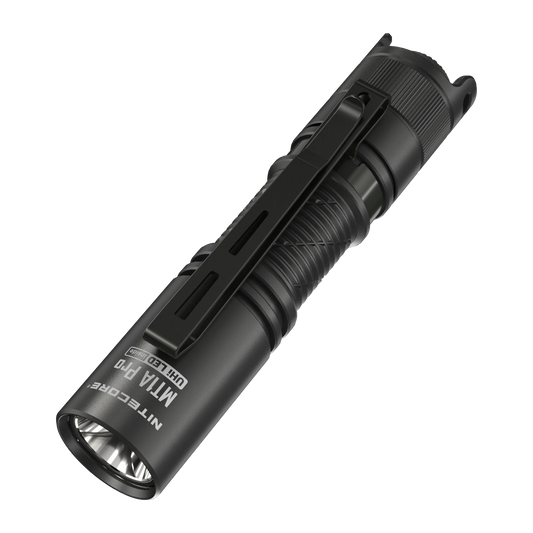
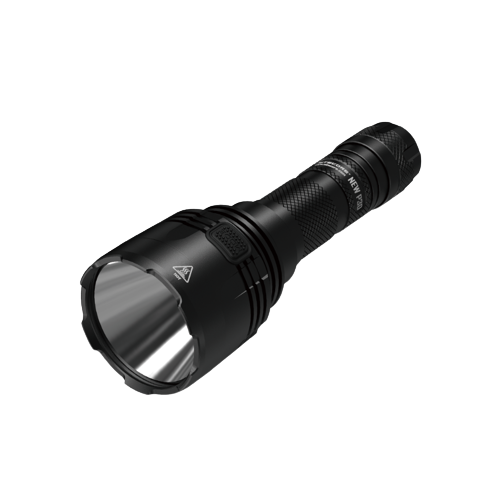
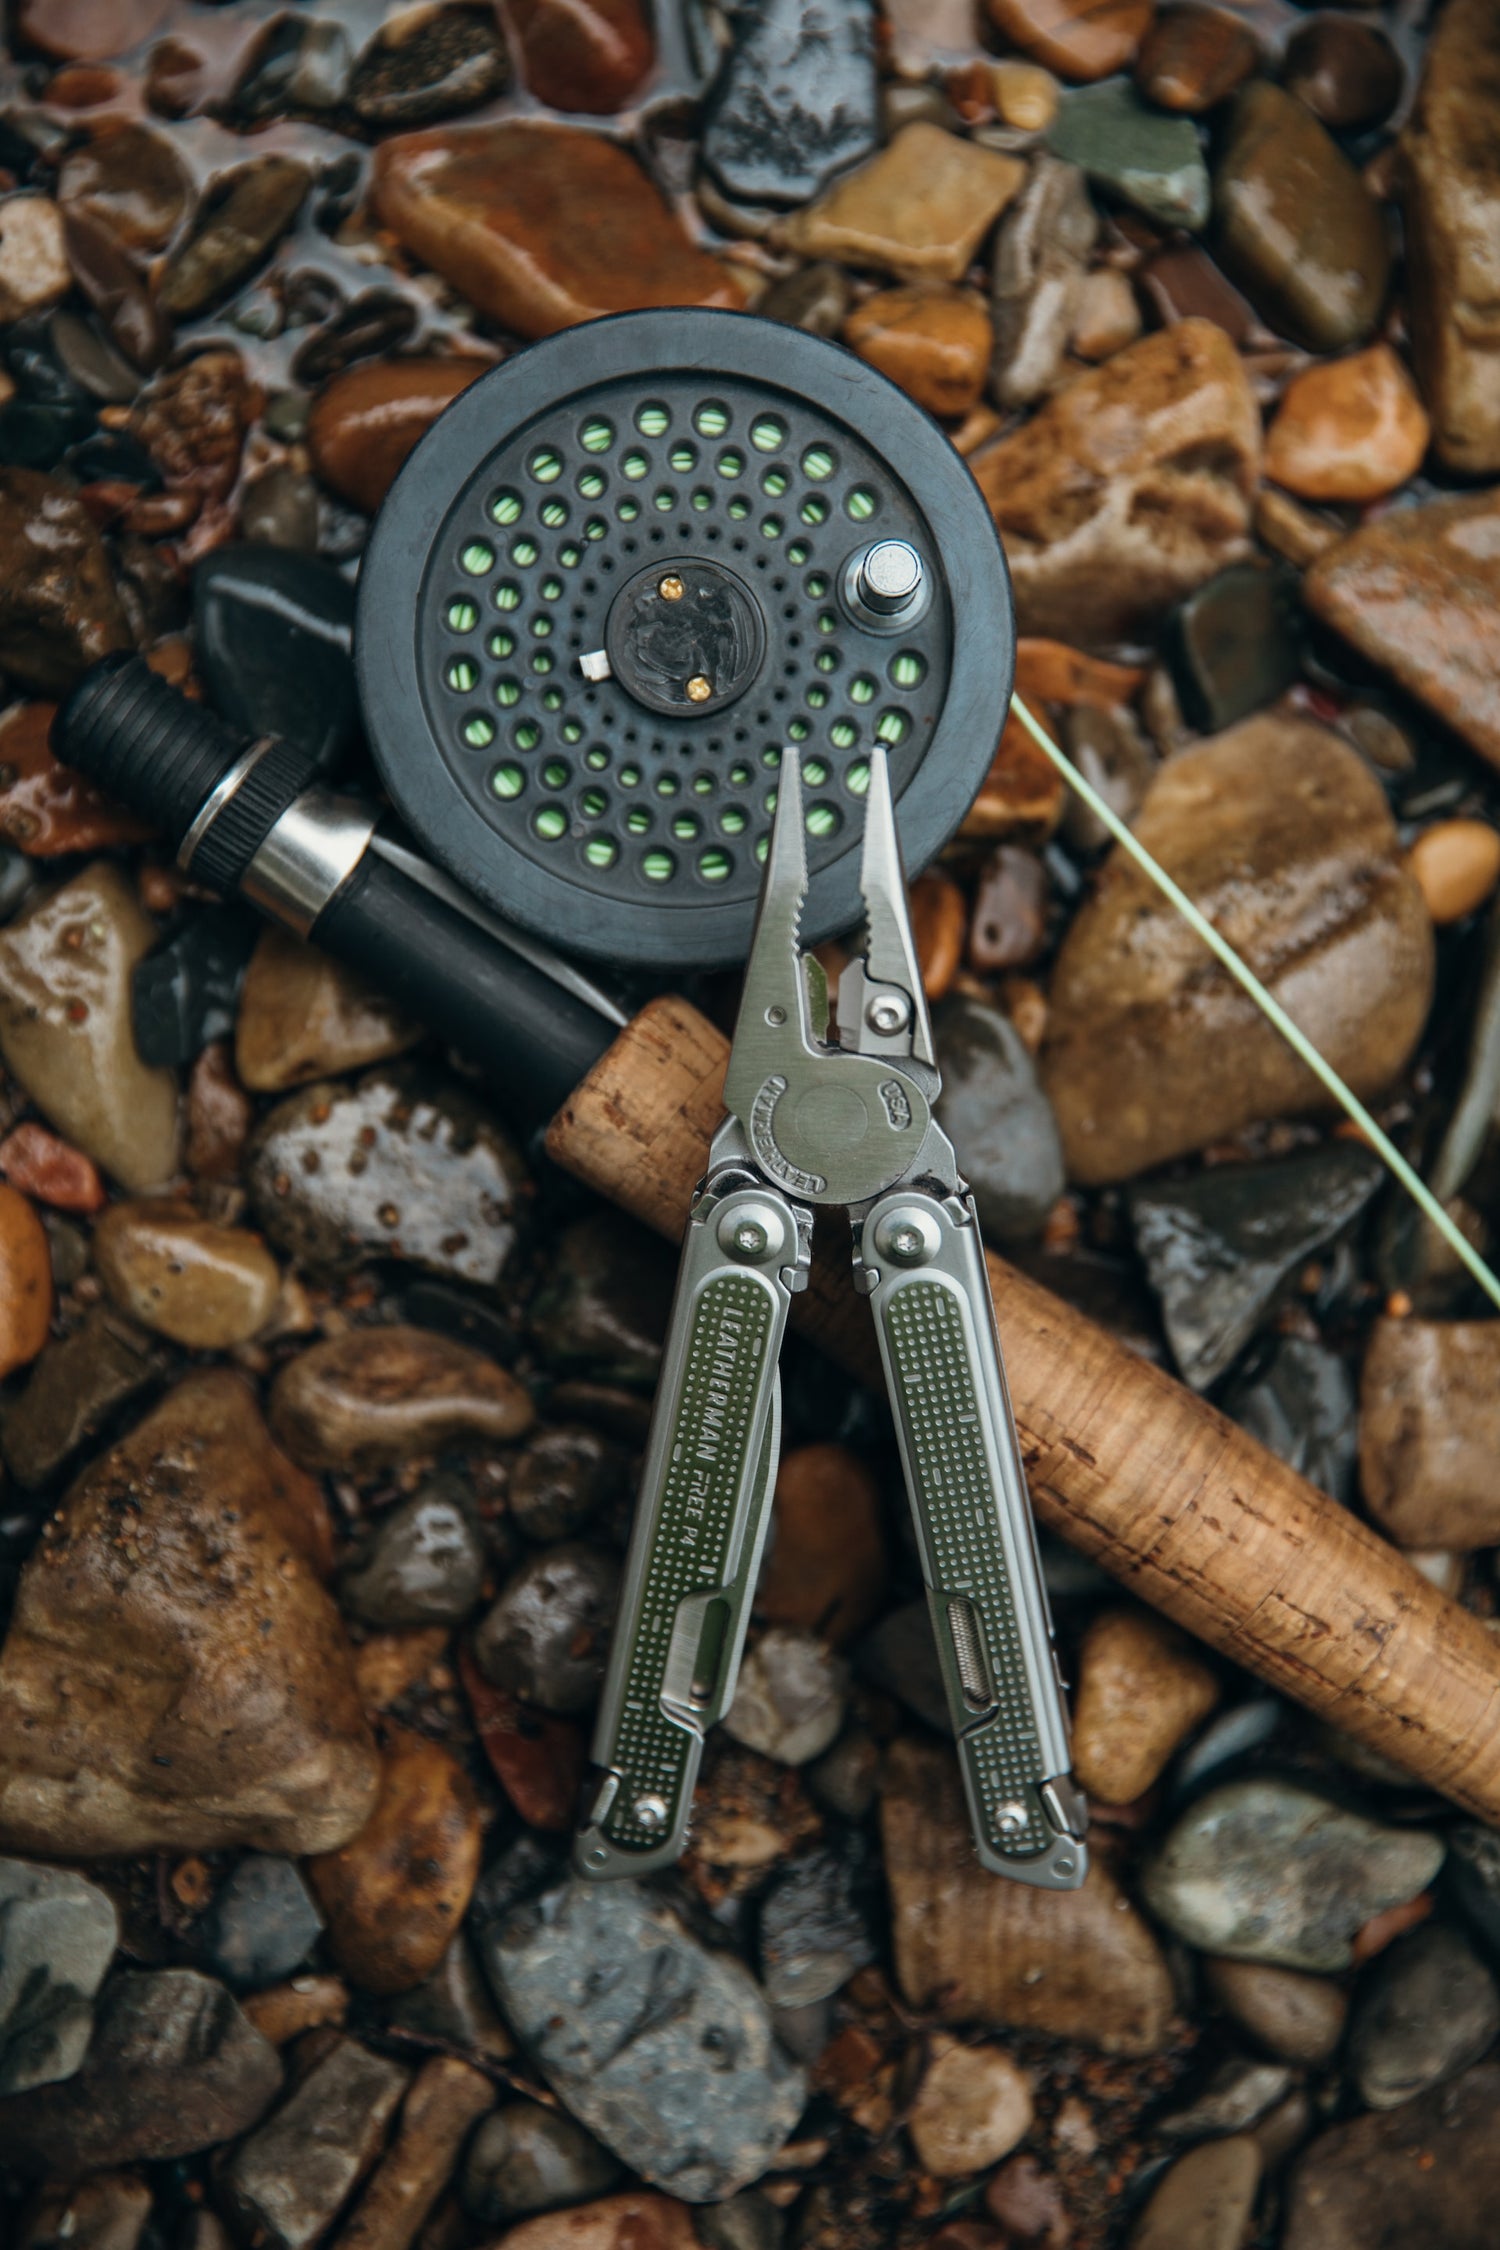
Before we get into it and you decide you can’t be bothered to read a long article, let’s talk about your kit. Do this for yourself. Maybe you’re just going for a trail run. In that case, you aren’t going to lug an EDC kit with you. But what about a hip pack? You are at least going to carry some water with you, right? You should consider carrying with you a multitool and a lighter. These 2 items alone can get you out of a hell of a lot of trouble if you ever need them. In this era, there is no reason not to carry a fully charged phone with you. They aren’t that heavy, and a secondary device like a smart/sports watch with all its apps and feature sets should get you out of most trouble. That might not be super accurate, but we are not trying to land a plane on an aircraft carrier. And if you use glasses. Make sure you have a pair of ultra-compact foldables with you. Not many focus on this, but if you can’t see shit….
Now onward, shall we?
Here's a quick blueprint of 10 crucial things you may want to take note of.

1. Stay Calm: A Clear Mind Prevails
Yup, you just found out you’re royally fucked. But how badly fucked you are depends on how you handle your situation.
Panic is a primal response in the face of the unknown, but in a survival situation, it can be your worst enemy. Fear clouds judgment, hinders clear thinking, and makes it difficult to make rational decisions that could increase your chances of survival.
Here's how to cultivate a positive and calm mindset in the wilderness:
- Focus on What You Can Control: Getting lost or facing an unexpected event can feel overwhelming. Instead of dwelling on the negative, shift your focus to the things you cancontrol. This could involve prioritizing tasks like building shelter, securing clean water, or finding sources of food. Taking action, even small steps, can empower you and instill a sense of control.
- Acceptance is Key: Acknowledge your situation and accept that you might be in the wilderness for longer than anticipated. Denial or anger will only waste valuable energy. Instead, channel your emotions into productive actions that will help you survive.
- Visualization Techniques: Visualization can be a powerful tool for managing stress and staying positive. Close your eyes and picture yourself being rescued, reuniting with loved ones, or completing a survival task. Focus on the positive outcome you are working towards.
- Deep Breathing Exercises: When panic starts to rise, take slow, deep breaths. Focus on inhaling through your nose for a count of four, holding for a count of four, and exhaling slowly through your mouth for a count of eight. Repeat this breathing exercise until you feel calmer and more centered.
- Maintain a Routine: Creating a routine, even a basic one, can provide a sense of normalcy and stability in a chaotic situation. Dedicate specific times for tasks like searching for food, building shelter, or tending a fire. This routine can offer a sense of purpose and structure, which can be psychologically beneficial in a survival scenario.
- Hope is Your Anchor: Never lose hope. Remember, search and rescue teams are trained to find lost individuals. Focus on staying positive and conserving your energy while waiting for help to arrive.
By cultivating a positive and calm mindset, you'll be better equipped to make sound decisions, prioritize tasks effectively, and ultimately increase your chances of survival in the wilderness. Remember, mental strength is just as crucial as physical strength in any survival situation.

2. Signal for Help: Be Seen and Heard
Getting lost or injured in the wilderness can be a frightening experience. But remember, you're most likely not that far off from help. Search and rescue teams are trained to locate missing people. However, they need a way to find you. Here's a breakdown of essential signaling methods to increase your chances of a swift rescue:
- The Universal Distress Signal: Remember the rule of threes. Three of anything – three blasts on a whistle, three flashes of a mirror, or three fires in a triangular pattern – universally signifies distress and will be understood by search parties.
- Whistle: A high-pitched whistle is a vital tool for any wilderness adventure. Its loud, shrill sound can travel long distances, even through dense foliage or wind. A whistle is small, lightweight, and requires minimal effort to use, making it an ideal signaling device.
- Signal Mirror: A signaling mirror reflects sunlight toward rescuers, creating a bright, visible flash that can be seen from miles away. Practice aiming the mirror effectively to maximize its potential. Remember, aiming at the sun itself can damage your eyesight and is not an effective signaling method.
- Fire: While a fire provides warmth and light, it can also be a powerful signaling tool. Build a large, well-maintained fire, especially if smoke signals are your primary option. During the day, add green leaves or damp material to create thick, billowing smoke that will attract attention. Never leave a fire unattended, and extinguish it completely before leaving the area.
- Cell Phone: If you have a charged cell phone with reception, call emergency services immediately. However, prioritize the methods mentioned above, as cell service might be unavailable in remote areas.
Remember: Start signaling for help as soon as you realize you're lost or injured. Don't wait for nightfall or worsening conditions. The sooner search and rescue teams are alerted, the sooner they can locate you and ensure your safe return.

3. Find Safe Shelter: Build Your Sanctuary
Location is crucial in your fight for survival. Seek an area sheltered from the elements and potential hazards. Avoid low-lying areas prone to flooding, loose rocks, or dead trees that could fall, and areas with overhanging cliffs that might pose a risk of rockfall. Look for a spot with well-drained, preferably flat ground, to minimize heat loss and prevent water pooling around your shelter.
Once you've identified a suitable location, it's time to construct your emergency shelter. Here are some general principles to follow:
- Utilize Available Materials: The wilderness itself can provide most of what you need. Look for fallen branches and sturdy sticks to form the frame of your shelter. Leaves, bark, pine needles, or even moss can be used for insulation and covering the frame. If available, gather large leaves or strips of bark to create a door flap for added protection from wind and rain. You won't know how long you'll be stuck.
- Design for Purpose: Consider the environmental conditions you're facing. If rain is a concern, design a sloping roof to shed water. In cold weather, prioritize insulation by creating a thicker wall structure and using denser insulating materials.
- Simple Structures are Effective: A basic A-frame shelter is a great option for beginners. Lean two sturdy sticks against a rock face or a large tree trunk, creating a wedge shape. Lash the tops of the sticks together securely. Drape insulating materials over the frame, creating a triangular living space.
- Additional Considerations: If time and resources allow, you can enhance your shelter for increased comfort and protection. Dig a shallow trench around the base of the shelter to divert rainwater. Line the floor with leaves or grass for additional insulation. If you have a tarp or emergency blanket, incorporate it into your shelter design for better waterproofing and wind protection.
Remember: the goal is to create a basic, functional shelter that protects you from the elements and helps you retain body heat. You are not building a cabin in the woods. By using these tips and adapting them to your surroundings, you'll be able to make a shelter in the wilderness.

4. Water, Water everywhere, but not a drop to drink.
Water is paramount for survival. The human body can only last a few days without adequate hydration. Once dehydration occurs, a whole host of problems starts to set in.
However, while finding water in the wilderness is paramount, you need to ensure it's safe to drink. Here's a guided approach to securing clean water:
- Locate Potential Sources: Look for natural bodies of water like streams, springs, lakes, or ponds. Moving water is generally considered safer than stagnant water, as the flow helps reduce bacteria and parasites. If you find a water source that is completely stagnant, it’s better to stay clear. Water sources directly below potential sources of contamination, such as campsites or livestock grazing areas, should be avoided. Pollution from runoff may have occurred, and getting really sick while stuck in the wild is not going to do you any favors.
- Evaluate the Water Source: Once you've located a potential water source, assess its clarity, color, and odor. Clear, colorless, and odorless water is generally a good sign. Avoid cloudy, murky water or water with a strong, unpleasant odor, as these could indicate contamination.
- Prioritize Purification Methods: Never drink untreated surface water, regardless of how clear or inviting it may look. Here are two primary methods for water purification:
- Boiling: If you have or can find a container, Boiling is the most effective way to kill harmful bacteria and parasites. Bring the water to a rolling boil for at least one minute (longer at higher altitudes). Let the water cool completely before drinking.
- Water Filtration: Water filtration tablets or portable water filters can be used to remove impurities and microorganisms from water. Always follow the manufacturer's instructions carefully when using filtration methods, as incorrect usage can render them ineffective.
- Alternative Hydration Sources: In some situations, finding a reliable water source might be difficult. Here are some alternative options to consider, but use them with caution as they may not provide sufficient hydration or could even be harmful if not processed correctly:
- Collect Rainwater: If rain is present, you can collect it in a tarp, poncho, or large leaves. However, be aware that rainwater in urban or industrial areas might be contaminated.
- Extract Water from Plants: Certain plants, such as cacti or large-leafed vines, may contain water. However, proper identification is crucial, as some plants can be toxic. Only consume water from plants you have definitively identified as safe.
By following these steps and prioritizing safe water consumption, you'll significantly increase your chances of staying hydrated and healthy in the wilderness. Remember, even mild dehydration can impair your judgment and reduce your ability to survive. Make securing clean water a top priority in any survival situation.

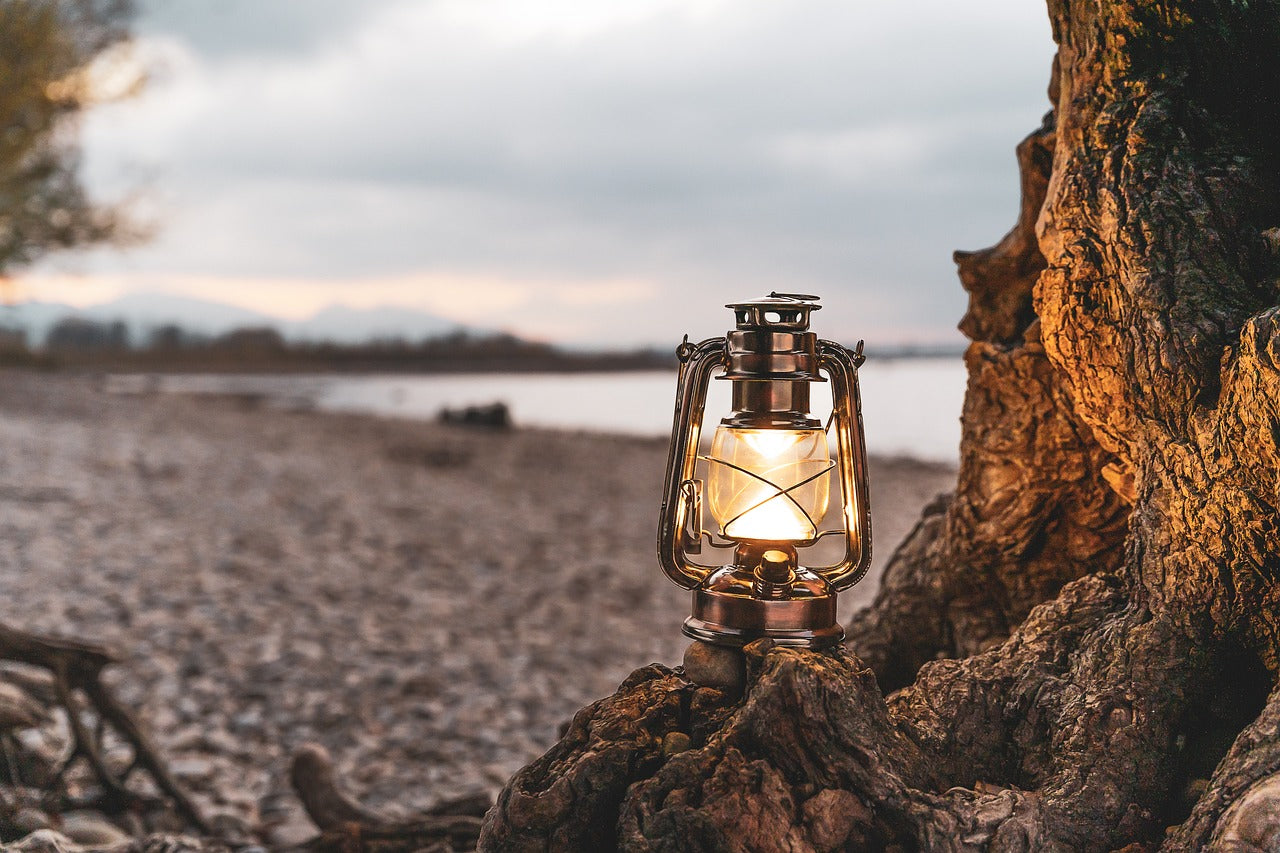
5. Master Firecraft: A Source of Warmth, Light and Security
Fire is a transformative tool in the wilderness. It provides much more than just warmth. Fire can:
- Cook Food: Cooking kills harmful bacteria and parasites in food, making it safe for consumption. It can also breaks down tough meats and vegetables, allowing for easier digestion.
- Signal for Help: A well-built fire can create a visible smoke column, which can be a lifesaver if search parties are looking for you.
- Deter Predators: Fire can frighten away some wild animals, offering a sense of security at night.
- Provide Light: Fire offers essential illumination during darkness, helping with tasks like preparing food or navigating at night.
Here's a breakdown of the essential steps to master fire craft:
- Gather Tinder: Tinder is a dry, highly flammable material that helps ignite your fire. Look for dry leaves, grass, twigs, bark shavings, or even wood pulp from dead trees. The drier and finer the fuel, the easier it will catch a spark.
- Prepare Kindling: Once you have fuel, gather small sticks (pencil-thin to finger-thick) for kindling. These sticks will help bridge the gap between your tinder and larger fuelwood. Break larger sticks into manageable pieces to gradually increase the fuel size as your fire grows.
- Choose Your Fire-Starting Method: There are several ways to start a fire, but having a reliable backup method is crucial. Here are two common options:
- Lighter: A simple lighter is a convenient and efficient fire starter but remember that lighters can run out of fuel.
- Flint and Steel: Flint and steel is a more traditional method that creates sparks for ignition. Mastering this technique takes practice, but it's a valuable skill for any survival situation. Scrape the flint against the steel to generate sparks, directing them towards your tinder nest.
- Build Your Fire Structure: There are different fire structures suitable for various purposes. Here's a basic teepee fire, ideal for most situations:
- Create a tepee shape using your kindling, leaning the sticks inward against each other.
- Place your tinder nest loosely in the center of the tepee.
- Gradually add larger sticks to the base of the teepee as the fire grows.
- Maintain Your Fire: Once your fire is established, tend to it regularly. Add fuel as needed to maintain a steady flame. Keep a lookout for stray embers that could cause a wildfire, especially during dry conditions.
By mastering these firecraft fundamentals and practicing different fire-starting techniques, you'll gain the confidence and ability to create a life-saving fire in the wilderness. Remember, fire safety is crucial. Always extinguish your fire completely before leaving the area.

6. Forage for Food (Safely): Knowledge is Your Weapon
The wilderness can offer a tempting smorgasbord of potential food sources. However, foraging for food without proper knowledge and preparation can be extremely dangerous. Many plants and berries that appear edible can be poisonous, and even a small amount can be fatal. Here's a crucial principle to remember: When in doubt, always err on the side of caution and avoid anything unfamiliar.
Preparation is Paramount:
- Research Before You Roam: Never rely on foraging as your primary food source in the wilderness. Before venturing into any new area, research the edible plants and berries native to that specific environment. Many helpful resources are available, including field guides, online resources, and even apps specifically designed for wilderness foraging.
- Learn Plant Identification: Focus on learning to identify a small number of common, easily recognizable edible plants in your area. Prioritize plants with multiple identifying features, such as unique leaf shapes, flower structures, or specific growing locations.
- Understand Look-Alikes: Many poisonous plants have non-toxic counterparts that share similar appearances. Be aware of these dangerous look-alikes and learn to distinguish them from their edible counterparts.
Safe Foraging Practices:
- Start Slow: If you're new to foraging, begin by practicing with easily identifiable plants under the guidance of an experienced forager or through a reputable foraging course.
- The Universal Rule is: Only consume a plant or berry if you can confidently identify it using multiple features and are 100% certain about its edibility. No single universal test, like the taste test, can definitively determine if a plant is safe to eat.
- Sample with Caution: Even with a confirmed identification, always begin by consuming a very small amount of any new plant or berry for the first time. Wait several hours to monitor for any allergic reactions or digestive discomfort before consuming more.
Beggars can't be choosers:
While foraging should be a last resort, here are some alternative wilderness food sources to consider, but use them with caution:
- Insects: Insects like grasshoppers, crickets, and ants can be a surprisingly good source of protein. However, proper identification is crucial to avoid poisonous insects.
- Grubs and Worms: Grubs and worms can be found in decaying logs and moist soil. They are generally safe to eat after proper preparation.
Remember: Foraging should be approached with caution and respect for the power of wild plants. Never rely solely on foraged food for survival. By prioritizing safety and knowledge, you can minimize the risks associated with wilderness foraging.

7. Navigate Like a Pro: Find Your Way
Finding your way in the wilderness requires a combination of tools and skills. Here's a breakdown of essential navigation techniques to help you become a self-reliant explorer:
- Master the Map and Compass: A topographical map and compass are your primary tools for wilderness navigation. Topo maps depict elevation changes, landmarks, and other geographical features that can aid your journey. Learn to interpret map symbols and understand the scale (the relationship between the map distance and the actual ground distance).
- Compass Fundamentals: A compass displays directional bearings. Familiarize yourself with the compass rose and how to orient the compass map with magnetic north. Practice triangulation by using your compass to take bearings from two or more landmarks to pinpoint your location on the map.
- GPS for Added Security: While a GPS device can be a valuable tool, especially in unfamiliar territory, consider it a backup rather than your primary navigation method. GPS devices require batteries and might not work everywhere due to signal limitations. Knowing how to use a map and compass remains essential.
- Harness the Power of Natural Navigation: Even without a map and compass, you can still navigate using natural signs. The sun's position can be a basic directional guide. At noon, the sun will be roughly south in the northern hemisphere and north in the southern hemisphere. Moss typically grows on the north side of trees in most environments. Look for stars like the North Star (in the northern hemisphere) or the Southern Cross (in the southern hemisphere) for nighttime navigation.
- Planning and Preparation: Before venturing into the wilderness, plan your route carefully.Mark your intended path on a map and share your itinerary with a responsible person, including estimated travel times and return dates. This way, in case you get lost, search and rescue teams will have a starting point for their efforts.
- Leave a Paper Trail: Consider using a GPS track recorder to document your journey. Alternatively, you can leave a paper trail by marking your path at key junctions with biodegradable materials like small rocks or sticks. This can help you retrace your steps if needed.
Mastering these navigation techniques and practicing them in controlled environments before your adventure will give you the confidence and skills to navigate effectively in the wilderness. Remember, situational awareness is key. Pay attention to your surroundings, identify landmarks, and be mindful of the time to avoid getting lost.
You are living in the modern world, and mastering the skills mentioned above is a must. There is no sense in going out into the wilderness without modern gadgets. You're not going to a black-tie event. Leave the analog watch at home. Modern tech watches come with a host of functions that can get you out of a sticky predicament: built-in GPS, ABC, and Temperature monitoring. They are a secondary device when your phone fails.

8. Tie Essential Knots: Mastery in Your Hands
Knots are the unsung heroes of the wilderness. These simple yet versatile tools can be used for a surprising variety of tasks, from building shelters and securing gear to signaling for help and even crafting traps (as a last resort). Here's a guide to mastering some essential knots for survival situations:
- The Square Knot (Reef Knot) is a versatile knot that is excellent for joining two ropes of similar thickness together. It's formed by tying two overhand knots, one over the other, in opposite directions. The square knot is strong and secure, making it ideal for tasks like lashing shelter poles or creating a bundle for carrying firewood.
- The Bowline: Often referred to as the "king of knots," the bowline is a lifesaver (literally) when you need a loop that won't slip or tighten under pressure. It's particularly useful for creating a secure anchor point for rappelling, hoisting gear, or tethering yourself to a stable object in windy conditions. The bowline is relatively easy to learn but requires practice to tie quickly and efficiently.
- The Clove Hitch: This is a simple and secure knot for attaching a rope to a pole or post. Wrap the rope around the post a few times, then under itself and back over the top of the rope, creating a secure loop. The clove hitch is easy to tie and adjust, making it ideal for tasks like securing a tarp to a shelter frame or lashing a branch to a tree trunk.
- The Sheet Bend: While the square knot is a good option for joining ropes of similar thickness, the sheet bend excels at joining ropes of unequal diameters. This knot is particularly useful if you need to improvise a tow rope or secure a thicker line to a thinner cord for various purposes.
- The Fisherman's Knot (Double Fisherman's Knot): This knot is another strong and reliable option for joining two ropes together, especially when a permanent or semi-permanent connection is needed. It's formed by creating a series of interlocking loops in each rope that interlock and hold firm. The double fisherman's knot is slightly more complex than the square knot but offers excellent security.
Rinse and repeat: Learning these knots from descriptions can be challenging. Here are some tips to solidify your knot-tying skills:
- Find a Quiet Space: Practice tying knots in a controlled environment, away from distractions.
- Use Colorful Rope: Using brightly colored rope can make it easier to visualize the knot formation process.
- Learn Visually: Watch instructional videos or look at clear diagrams to supplement written instructions.
- Muscle Memory is Key: Practice tying each knot repeatedly until you can do it quickly and efficiently, even under pressure.
By mastering these essential knots and incorporating them into your survival toolkit, you'll be well-equipped to handle various situations in the wilderness. Remember, a well-tied knot can make a significant difference in your ability to build a safe shelter, secure your gear, or even signal for help.

9. First Aid Fundamentals: Be Prepared to Act
The unexpected can happen in the wilderness. Minor injuries like cuts, scrapes, sprains, or insect bites are common occurrences. By packing a first-aid kit and possessing essential first-aid knowledge, you can effectively manage these situations and prevent them from escalating into something more serious.
Essential Supplies:
- Assemble a First-Aid Kit: Prepare a first-aid kit specifically designed for wilderness use. The contents should cater to a variety of potential injuries and illnesses. Here are some general recommendations:
- Wound Care: Antiseptic wipes, bandages of various sizes (adhesive and non-adhesive), sterile gauze pads, wound closure strips (butterfly bandages)
- Pain Relief: Over-the-counter pain relievers (like acetaminophen or ibuprofen) to manage pain and inflammation
- Blisters: Moleskin or blister pads to prevent and treat blisters
- Antihistamines: For allergic reactions to insect bites or stings
- Medications: Pack any personal medications you might require, such as inhalers or prescription drugs.
- Keep it Compact and Organized: Choose a lightweight and waterproof container for your first-aid kit. Organize the contents clearly to ensure easy access to essential supplies in an emergency.
Basic First-Aid Procedures:
- Wound Care: Clean minor wounds with clean water and antiseptic wipes. Apply gentle pressure with sterile gauze pads to stop bleeding. Cover the wound with a bandage to prevent infection.
- Insect Bites and Stings: Remove any stingers with tweezers (if present). Clean the area with soap and water. Apply a cold compress to reduce swelling and itching. If you experience a severe allergic reaction, seek immediate medical attention.
- Sprains and Strains: RICE (Rest, Ice, Compression, Elevation) is the cornerstone of managing sprains and strains. Rest the injured area, apply ice packs to reduce swelling, compress the area with an elastic bandage, and elevate the limb above the heart.
- Hypothermia is a condition in which the body loses heat faster than it can produce it. Symptoms include shivering, confusion, and slurred speech. If you suspect hypothermia, get the person out of the cold and wet environment. Remove wet clothing and insulate them with dry blankets. Offer warm (not hot) liquids. Seek medical attention as soon as possible.
- Heatstroke is a condition in which the body overheats and can no longer regulate its temperature. Symptoms include high body temperature, headache, dizziness, and nausea. Move the person to a cool, shaded area. Loosen clothing and apply cool compresses. Offer cool (not cold) liquids. Seek medical attention immediately.
Remember: These are just basic guidelines. For more serious injuries or illnesses, prioritize getting help from a qualified medical professional as soon as possible.
Beyond the Kit: In addition to having a first-aid kit, consider taking a wilderness first-aid course. This training can equip you with the knowledge and skills to handle a wider range of medical emergencies in the wilderness.
10. Practice Makes Perfect: Rehearse for the Unexpected
The wilderness is an unforgiving environment. While hoping for the best, it's essential to prepare for the unexpected. Here's where the power of practice comes in:
- Find a Safe Space to Rehearse: Take your time with a real-life emergency to learn these survival skills. The wilderness is not the place to experiment for the first time. Identify a safe location, like your backyard, a designated camping area, or a friend's property with permission, to practice fire-starting, shelter building, and knot tying. This allows you to make mistakes, learn from them, and gain confidence in a controlled environment.
- Gear Up and Get Familiar: Familiarize yourself with your survival gear before venturing into the wilderness. Practice building a fire using your preferred method (lighter, flint, and steel). Experiment with different shelter-building techniques using available materials. Learn how to use a compass and map to navigate a familiar area.
- Buddy Up for Enhanced Learning: Consider practicing survival skills with a friend or group. This allows you to share knowledge and resources, learn from each other's mistakes, and boost morale in a real-life situation. Working together can also be more efficient for tasks like building a shelter or collecting firewood.
- Challenge Yourself Progressively: Once you've mastered the basics in a controlled environment, gradually increase the difficulty of your practice sessions. Try building a shelter in less ideal weather conditions, practice fire-starting with damp tinder, or navigate using only natural signs. These progressive challenges will help you develop a broader range of skills and prepare you for the unexpected in the wilderness.
- Embrace Continuous Learning: Survival skills are not static. There's always more to learn and refine. Take advantage of online resources, wilderness survival courses, or workshops offered by experienced outdoorsmen. Stay up-to-date on new techniques and best practices.
By prioritizing practice and continuous learning, you'll transform theoretical knowledge into practical skills. This hands-on experience will boost your confidence and equip you to handle the challenges you might encounter in the wilderness. Remember, the more prepared you are, the calmer and more resourceful you'll be in a survival situation.