Maintaining your Axes and Hatchets
Taking proper care of your axe is essential to ensure its longevity and effectiveness. When well-maintained, your axe can serve you throughout your lifetime and even be passed down through generations. Below, you'll find guidance on storing, maintaining, and sharpening your axe, as well as instructions on replacing the handle.
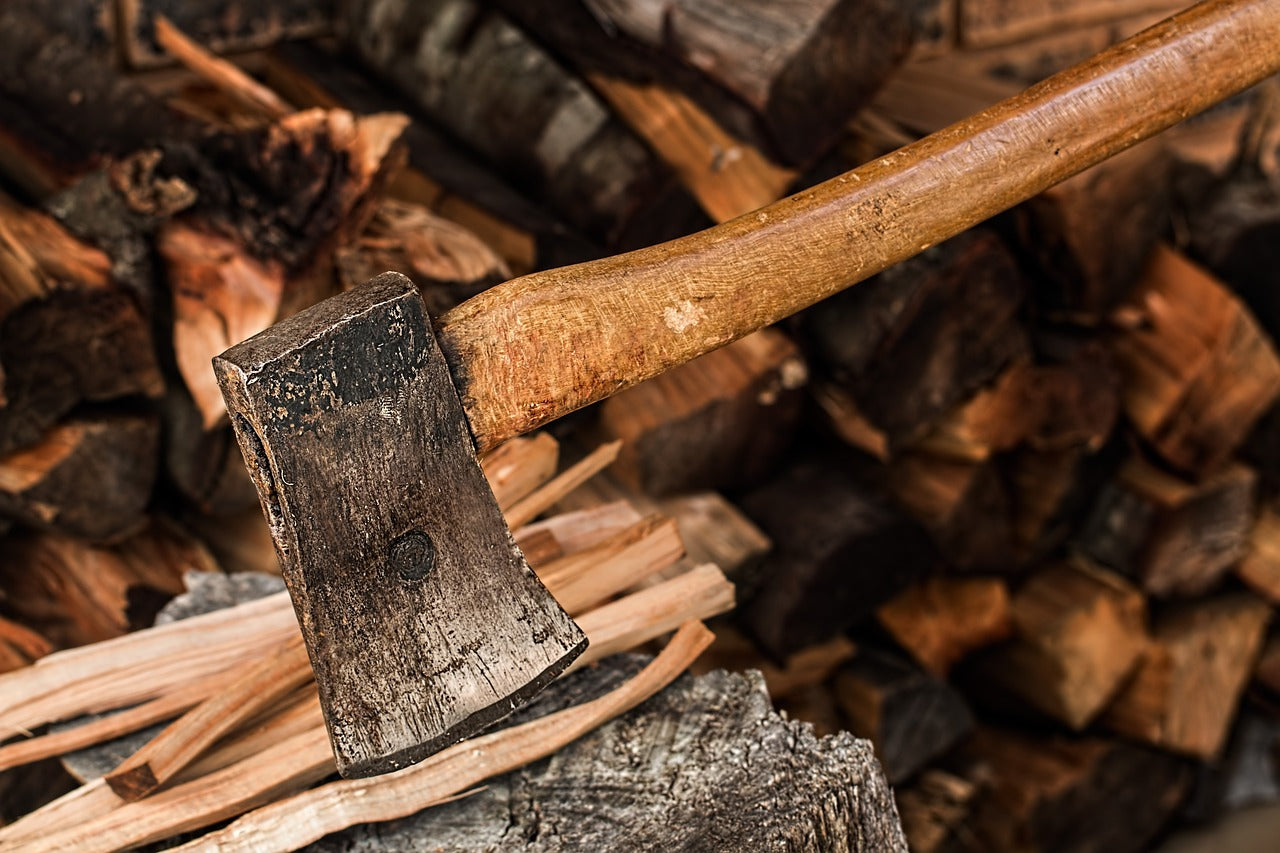
Caring for your Axe
Sharpening Your Axe
The process of sharpening an axe depends on its level of wear and damage. Follow these steps for effective sharpening:
- Address Major Damage: If your axe has major nicks and damage, you can file them down using an emery wheel. Be cautious not to overheat the steel, as this can affect its temper. Alternatively, use a fine-toothed flat file to maintain the original edge shape.
- Handle Minor Damage: For minor damage and normal wear, use a wet bench grinder or a coarse handheld whetstone to restore sharpness. Ensure that the original edge shape is retained. When using a straight bevel face axe, make sure the entire bevel face contacts the grindstone.
- Remove Burr: Hone the edge to remove the burr or 'feather edge' by using a coarse and then a finer whetstone. Keep the whetstone moist with water or oil, depending on the type of whetstone you use. Hone along the edges of the whetstone to prevent it from cupping.
- Strop the Edge: To achieve an even keener cutting edge, strop the axe against a length of leather after honing. Stroke away from the cutting edge.
Choosing the Right Axe Head Design
Selecting the appropriate axe head design is crucial for its intended use. Different edge designs suit various tasks:
- For cutting hardwood or frozen wood, choose an axe with a thick bit and a rounded bevel face.
- Axes with a more pointed edge are ideal for cutting softwood.
- Thin, straight-edged axes are suitable for carving, while those with rounded edges are better for forest chopping.
- Broad axes and carving axes come with diverse edge designs, catering to specific uses and handedness.
Remember always to maintain the original edge shape even after grinding and sharpening to prevent the axe from slipping more easily.
Replacing an Axe Handle
It's essential to use a high-quality, dry handle when replacing an axe handle. Follow these steps:
- Saw off the old handle close to the axe head.
- Drill out as much wood and glue in the axe eye as possible.
- Remove the remaining wood and glue from the side where you sawed off the handle.
- Clean the axe eye with a knife.
- Lay out planking to support the axe head and hammer in the new handle, ensuring it extends slightly beyond the axe head.
- Apply glue to the wedge slit and the wood wedge.
- Drive in the wedge as far as possible.
- Trim excess handle and protruding wedge.
- Optionally, insert a three-pronged iron wedge diagonally to the wooden wedge for added security (larger axes may require this).
Treating the Axe Handle with Linseed Oil
To maintain or restore the appearance of a scratched or reshaped handle, consider treating it with linseed oil stain. Historical axe handles typically come untreated, and it's recommended to use either oil or linseed oil stain to protect and enhance them.
Please note that it must be boiled linseed oil, not raw linseed oil. Raw linseed oil will not dry; at best it will remain sticky.
General Axe Care
To ensure your axe's longevity:
- Store it in a dry place but avoid excessively dry or warm conditions that could shrink the handle within the axe head.
- Ensure the bit and bit sheath are dry when storing the axe and apply oil to prevent rust.
- Use the axe for its intended purpose; avoid using it as a sledgehammer or wedge.
- Regularly check the handle's security in the axe head, especially if it has not been adequately dried before fitting.
By following these guidelines, you can maintain your axe in top condition, ensuring its usefulness for years to come.
Collections
-

Illumination
"Illuminate Your Adventures with Our Premier Lighting Solutions Collection. Discover the power...


